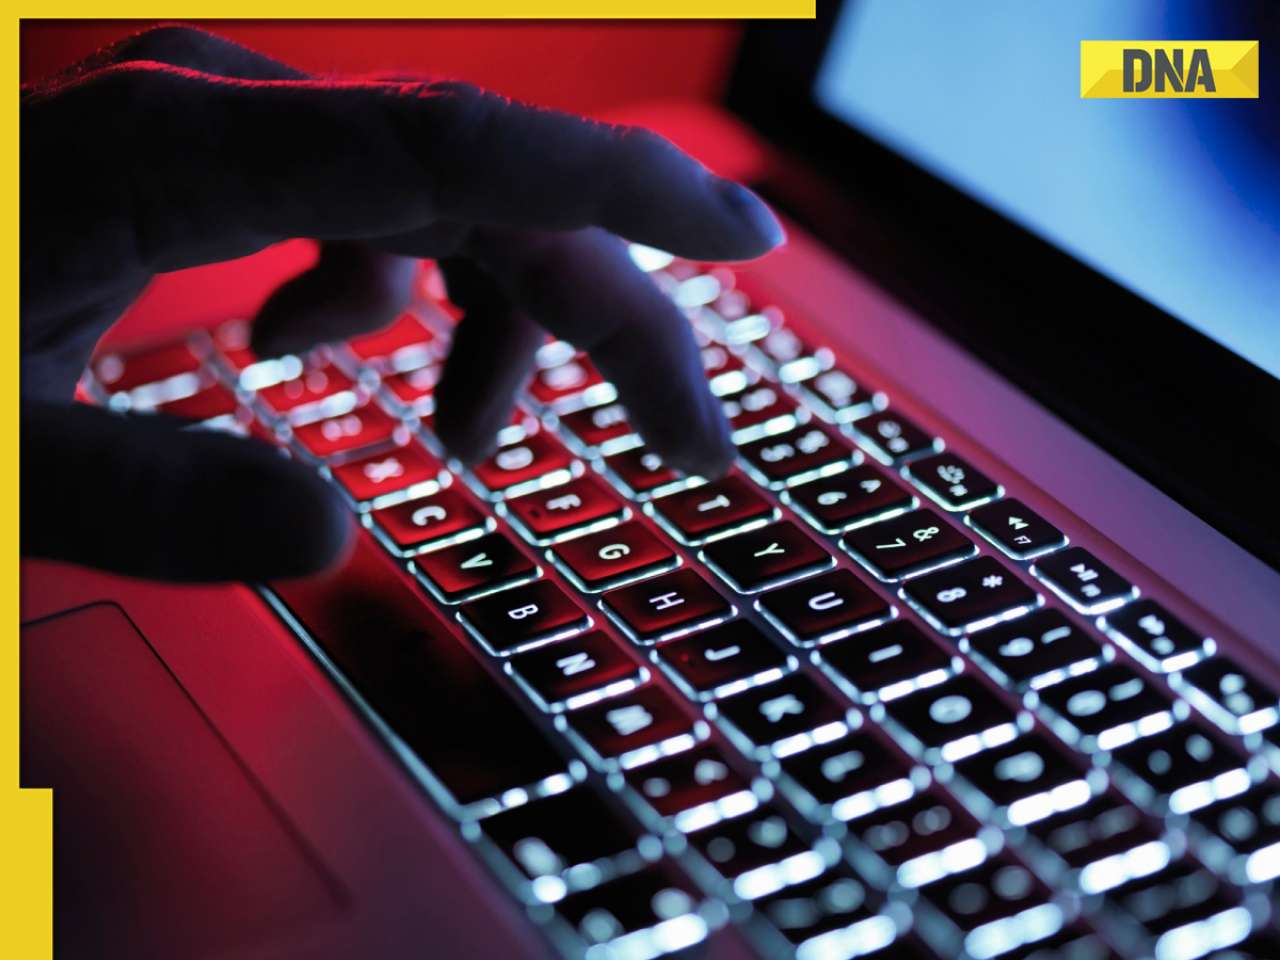
Don’t leave the personal stuff in your old laptop open to its new owner.
When the time comes to put your beloved old laptop out to pasture (aka listing it on OLX or Quickr), people are likely to strike the most lucrative deal and hand it over post haste. But wait--your laptop, the device you’ve been likely using over years, is a hotbed of personal information and files, which is now changing hands. And those hands may likely belong to a rank stranger.
Before signing over the tool that enabled your digital life, it is hugely important that you spend time not just copying your stuff off of it, but wiping every last bit of traceable information before letting go of it.
It is amazing the lengths some untoward elements will go through to access your personal information; and while users are aware of the most obvious entry points--fraudulent emails and hoax phone calls--it is these ‘under the radar’ areas of old hardware to which vigilance needs to be exercised. Often, more than the cost of a second-hand laptop, the wealth of information that can be recovered from it often outweighs the price of the hardware itself. Confidential bankd details and personal documents, photos of your family, automatic sign-ins into your Google and iOS profiles--all of these areas in which potential hackers and thieves could have a field day with.
So if you want to include the operating system on your laptop, here’s how you obliterate any traces of your personal data on it.
Step 1: Copy, they erase all of your document folders
Most folks store their files in the ‘Documents’ folder equivalent of the OS they are using. Copy all of your data from these folders to an external hard disk or thumb drive, then erase these folders completely (using SHIFT+DEL in Windows, Command+DEL in OSX, SHIFT+DEL in Linux).
Also remember to delete any other folders you may have created for data, such as Downloads, Dump, Temp etc. These may contain files you haven’t used in a while, but which could still hold identifiable data.
Want to be extra sure your files and folders are deleted? Use a permanent file removal program like the excellent freeware app FileShredder. This app doesn’t just remove the reference to the file on the drive (which is what a regular delete operation does), but overwrites the very location of the file with random data, making it virtually impossible to subsequently recover.

Step 2: Clear temp files and uninstall programs, especially paid ones
Almost every program uses some form of a Temporary folder for storing transient files during its regular operation--delete the contents of these folders. In Windows, start the file explorer, right-click C: drive, click Properties, then hit the ‘Disk cleanup’ button. This scans your disk partition and lets you choose what you want to delete, including Temp files, the Recycle bin etc. Check everything and click Ok to proceed with removing these files. Do this for all partitions on your hard disk.
Next, uninstall any programs that you don’t want to include with your laptop sale. Especially remove ones that you have paid for, whose license you can reuse on another computer subsequently.

Step 3: Disconnect automatic sign-ins from all browsers
If you’re using Chrome, you’ll most likely have set it up to automatically sign in to your Google account, and with it the entire Google ecosystem. You’ll need to disconnect this account to prevent it from being used on the laptop in future. Do this by clicking the burger icon in Chrome in the upper right corner, click Settings, then click Disconnect your Google Account at the top. Check the box to remove all local data before confirming.
With Chrome, Firefox or IE, launch the browser then press CTRL+SHIFT+DEL. You’ll see a popup that enables you to clear cache, passwords, autofill settings and the like. Check everything and proceed. This erases past browsing data and automatic sign-ins from the browser.

Step 4: Uninstall Google Drive/Dropbox and its local folder
If you’re using Google Drive or Dropbox, ensure that their local sync folder is erased before uninstalling these programs.
Step 5: Disconnect your favourite Wi-Fi networks and remove them from the system
Your laptop will most likely be configured to automatically hook on to your home and office networks, so it’s a good idea to delete these networks from your system. In Windows, open the Wireless Network configuration, right-click each recognized wireless network, then select Remove. Continue to do so for all private networks that you will have logged into from the system.
That’s it--your laptop should now be properly ‘sterilized’ before it heads into the wild.
Of course, if you want to go the whole hog and erase the laptop’s hard disk itself--and with it all files, partitions and everything--it’s best to use one of these free data shredders. They load up before the OS starts and completely wipe data from the target drives. Of course, use this approach with extreme caution as all drive data will get permanently blitzed.
![submenu-img]() Explainer: Why Spain's PM Pedro Sanchez is taking break from public duties?
Explainer: Why Spain's PM Pedro Sanchez is taking break from public duties?![submenu-img]() Meet superstar who was made to kiss 10 men during audition, feared being called 'difficult', net worth is..
Meet superstar who was made to kiss 10 men during audition, feared being called 'difficult', net worth is..![submenu-img]() Mukesh Ambani's Reliance makes big announcement, unveils new free…
Mukesh Ambani's Reliance makes big announcement, unveils new free…![submenu-img]() Secret Service agent protecting US Vice President Kamala Harris removed after brawl with other officers
Secret Service agent protecting US Vice President Kamala Harris removed after brawl with other officers![submenu-img]() Who is Iranian rapper Toomaj Salehi, why is he sentenced to death? Know on what charges
Who is Iranian rapper Toomaj Salehi, why is he sentenced to death? Know on what charges![submenu-img]() DNA Verified: Is CAA an anti-Muslim law? Centre terms news report as 'misleading'
DNA Verified: Is CAA an anti-Muslim law? Centre terms news report as 'misleading'![submenu-img]() DNA Verified: Lok Sabha Elections 2024 to be held on April 19? Know truth behind viral message
DNA Verified: Lok Sabha Elections 2024 to be held on April 19? Know truth behind viral message![submenu-img]() DNA Verified: Modi govt giving students free laptops under 'One Student One Laptop' scheme? Know truth here
DNA Verified: Modi govt giving students free laptops under 'One Student One Laptop' scheme? Know truth here![submenu-img]() DNA Verified: Shah Rukh Khan denies reports of his role in release of India's naval officers from Qatar
DNA Verified: Shah Rukh Khan denies reports of his role in release of India's naval officers from Qatar![submenu-img]() DNA Verified: Is govt providing Rs 1.6 lakh benefit to girls under PM Ladli Laxmi Yojana? Know truth
DNA Verified: Is govt providing Rs 1.6 lakh benefit to girls under PM Ladli Laxmi Yojana? Know truth![submenu-img]() In pics: Salman Khan, Alia Bhatt, Rekha, Neetu Kapoor attend grand premiere of Sanjay Leela Bhansali's Heeramandi
In pics: Salman Khan, Alia Bhatt, Rekha, Neetu Kapoor attend grand premiere of Sanjay Leela Bhansali's Heeramandi![submenu-img]() Streaming This Week: Crakk, Tillu Square, Ranneeti, Dil Dosti Dilemma, latest OTT releases to binge-watch
Streaming This Week: Crakk, Tillu Square, Ranneeti, Dil Dosti Dilemma, latest OTT releases to binge-watch![submenu-img]() From Salman Khan to Shah Rukh Khan: Actors who de-aged for films before Amitabh Bachchan in Kalki 2898 AD
From Salman Khan to Shah Rukh Khan: Actors who de-aged for films before Amitabh Bachchan in Kalki 2898 AD![submenu-img]() Remember Abhishek Sharma? Hrithik Roshan's brother from Kaho Naa Pyaar Hai has become TV star, is married to..
Remember Abhishek Sharma? Hrithik Roshan's brother from Kaho Naa Pyaar Hai has become TV star, is married to..![submenu-img]() Remember Ali Haji? Aamir Khan, Kajol's son in Fanaa, who is now director, writer; here's how charming he looks now
Remember Ali Haji? Aamir Khan, Kajol's son in Fanaa, who is now director, writer; here's how charming he looks now![submenu-img]() What is inheritance tax?
What is inheritance tax?![submenu-img]() DNA Explainer: What is cloud seeding which is blamed for wreaking havoc in Dubai?
DNA Explainer: What is cloud seeding which is blamed for wreaking havoc in Dubai?![submenu-img]() DNA Explainer: What is Israel's Arrow-3 defence system used to intercept Iran's missile attack?
DNA Explainer: What is Israel's Arrow-3 defence system used to intercept Iran's missile attack?![submenu-img]() DNA Explainer: How Iranian projectiles failed to breach iron-clad Israeli air defence
DNA Explainer: How Iranian projectiles failed to breach iron-clad Israeli air defence![submenu-img]() DNA Explainer: What is India's stand amid Iran-Israel conflict?
DNA Explainer: What is India's stand amid Iran-Israel conflict?![submenu-img]() Meet superstar who was made to kiss 10 men during audition, feared being called 'difficult', net worth is..
Meet superstar who was made to kiss 10 men during audition, feared being called 'difficult', net worth is..![submenu-img]() Lara Dutta has this to say about trolls calling her ‘buddhi, moti’: ‘I don’t know what someone like that…’
Lara Dutta has this to say about trolls calling her ‘buddhi, moti’: ‘I don’t know what someone like that…’![submenu-img]() Meet actress, who gave first Rs 100-crore Tamil film; and it’s not Anushka Shetty, Nayanthara, Jyotika, or Trisha
Meet actress, who gave first Rs 100-crore Tamil film; and it’s not Anushka Shetty, Nayanthara, Jyotika, or Trisha ![submenu-img]() Meet actor, school dropout, who worked as mechanic, salesman, later became star; now earns over Rs 100 crore per film
Meet actor, school dropout, who worked as mechanic, salesman, later became star; now earns over Rs 100 crore per film![submenu-img]() This filmmaker earned Rs 150 as junior artiste, bunked college for work, now heads production house worth crores
This filmmaker earned Rs 150 as junior artiste, bunked college for work, now heads production house worth crores![submenu-img]() IPL 2024: Rishabh Pant, Axar Patel shine as Delhi Capitals beat Gujarat Titans by 4 runs
IPL 2024: Rishabh Pant, Axar Patel shine as Delhi Capitals beat Gujarat Titans by 4 runs![submenu-img]() SRH vs RCB, IPL 2024: Predicted playing XI, live streaming details, weather and pitch report
SRH vs RCB, IPL 2024: Predicted playing XI, live streaming details, weather and pitch report![submenu-img]() SRH vs RCB IPL 2024 Dream11 prediction: Fantasy cricket tips for Sunrisers Hyderabad vs Royal Challengers Bengaluru
SRH vs RCB IPL 2024 Dream11 prediction: Fantasy cricket tips for Sunrisers Hyderabad vs Royal Challengers Bengaluru ![submenu-img]() Meet India cricketer who wanted to be IPS officer, got entry in IPL by luck, now earns more than CSK star Dhoni, he is..
Meet India cricketer who wanted to be IPS officer, got entry in IPL by luck, now earns more than CSK star Dhoni, he is..![submenu-img]() IPL 2024: Marcus Stoinis' century power LSG to 6-wicket win over CSK
IPL 2024: Marcus Stoinis' century power LSG to 6-wicket win over CSK![submenu-img]() Viral video: Truck driver's innovative solution to beat the heat impresses internet, watch
Viral video: Truck driver's innovative solution to beat the heat impresses internet, watch![submenu-img]() 'Look between E and Y on your keyboard': All you need to know about new 'X' trend
'Look between E and Y on your keyboard': All you need to know about new 'X' trend![submenu-img]() Watch: Pet dog scares off alligator in viral video, internet reacts
Watch: Pet dog scares off alligator in viral video, internet reacts![submenu-img]() Professional Indian gamers earn unbelievable amounts of money amid gaming boom; Know about their annual earnings
Professional Indian gamers earn unbelievable amounts of money amid gaming boom; Know about their annual earnings![submenu-img]() Meet first Asian woman without arms to get driving licence, she is from...
Meet first Asian woman without arms to get driving licence, she is from...









)
)
)
)


)
)
)
)
)
)